PADDLEWAYS: Paddling access for all.
Closeout Apparel Deals
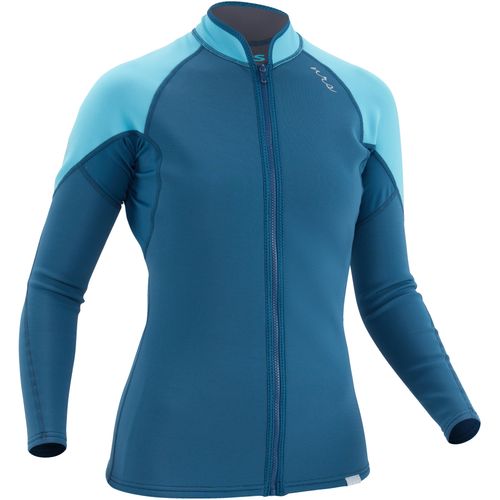
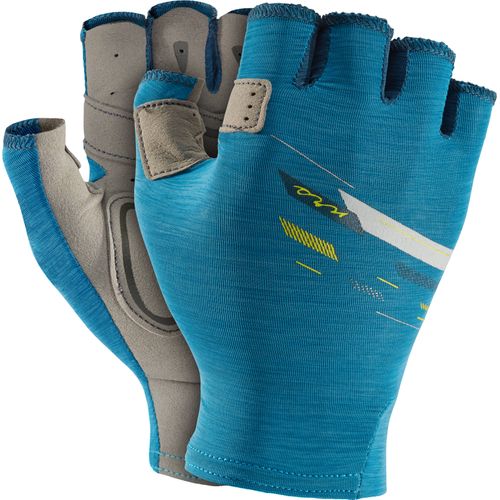
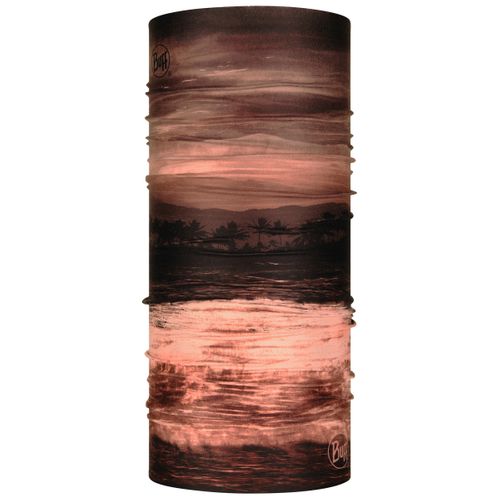
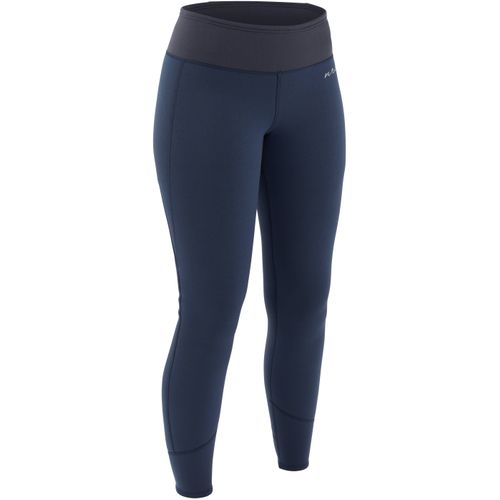
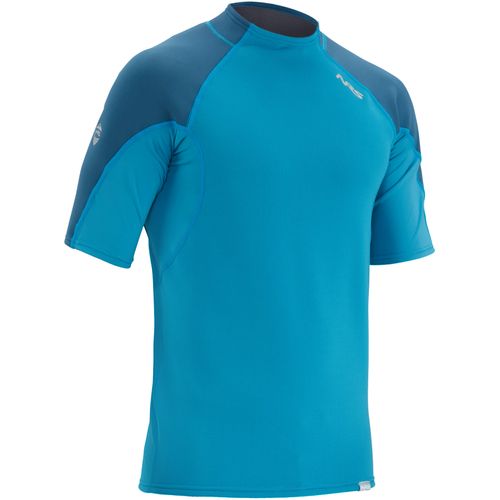
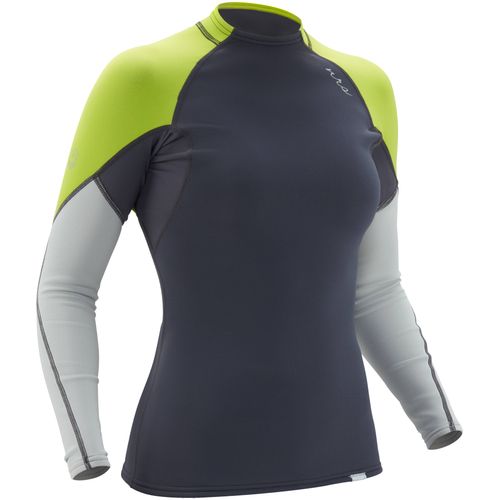
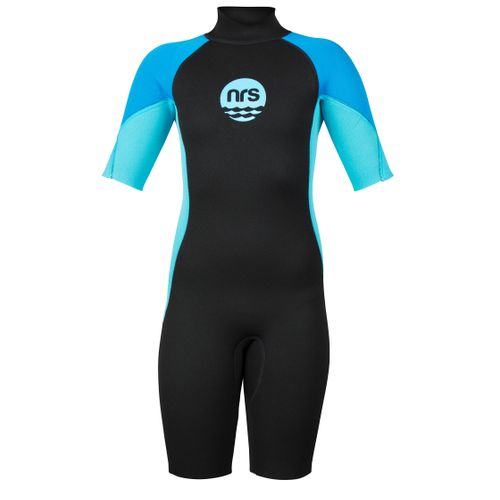
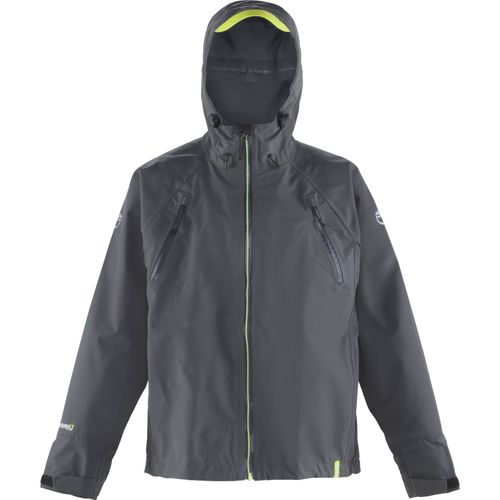
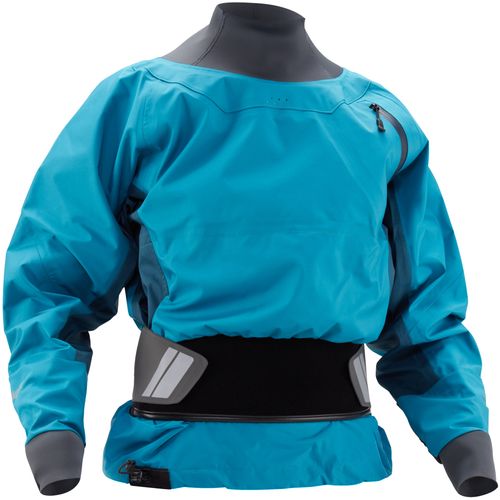
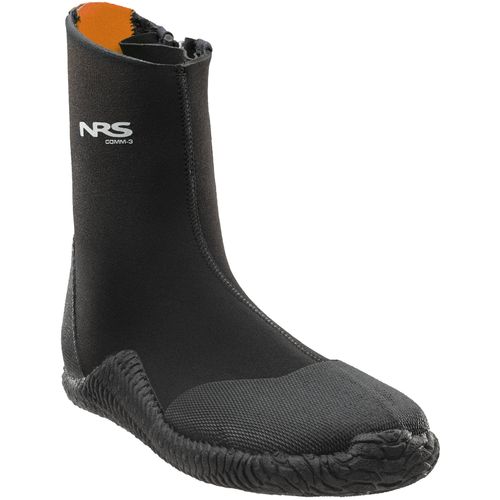
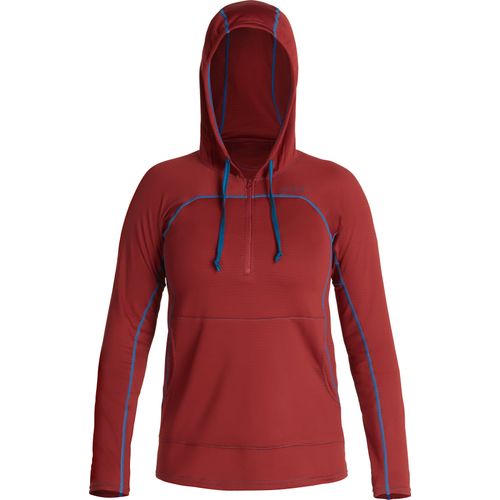
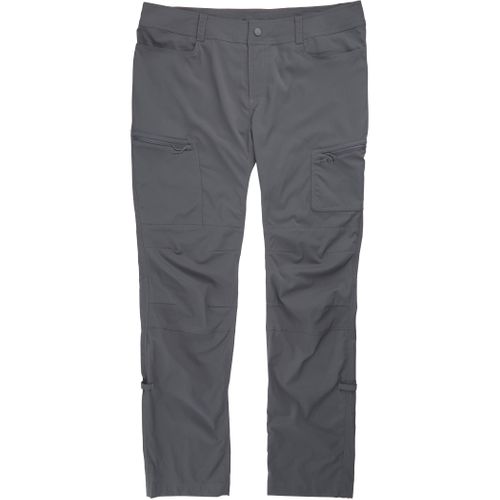
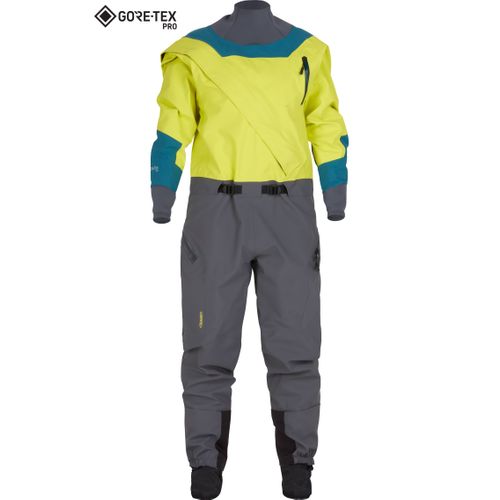
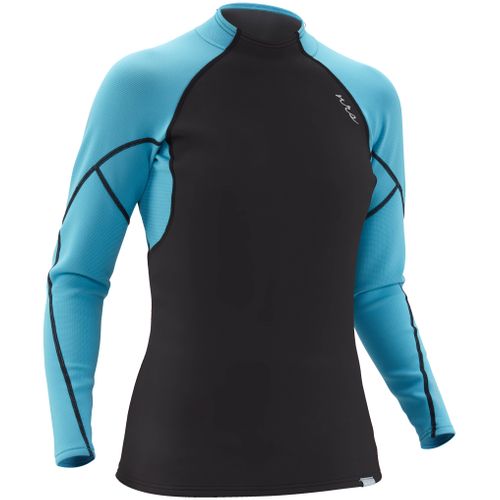
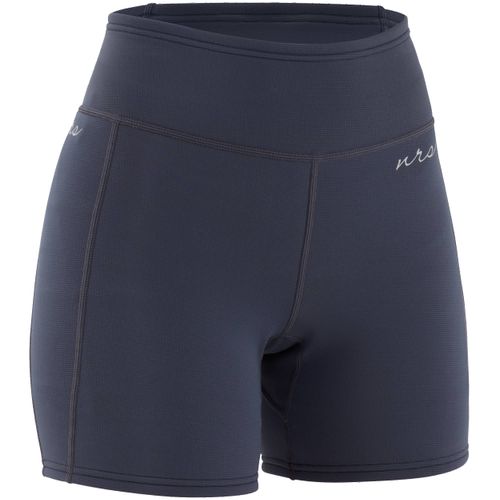
Snag some apparel for the current chilly-water conditions or prep for warmer days with closeout deals from HydroSkin and baselayers to short-sleeves and sandals.
Used Gear. New Adventures.
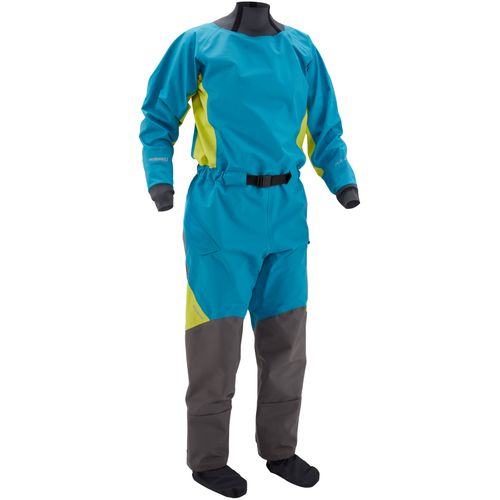
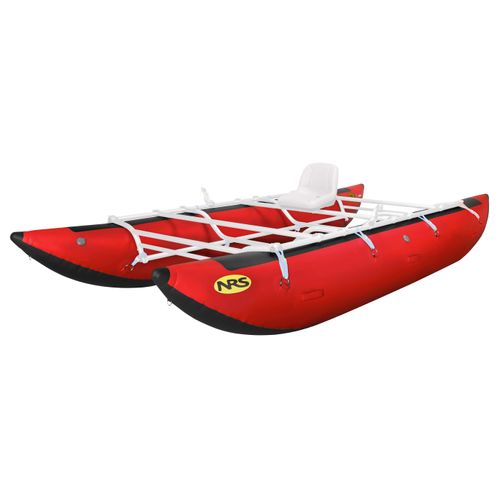
Buying used equipment and apparel from NRS is a great way to outfit yourself on a budget. Grab these used deals before they’re gone, and start planning your next adventure.

media stream

Risk, Rapids and Rainbow Sprinkles on the Delaware River » Canoeing 200 miles on the Delaware River solo—minus his dog, Sully—let Rick Van Noy contemplate the value of risk and river trips.

College Basics: Reading, Writing and Rafting » Stunned that River Guide Leadership 101 was a class option, Carlie Johnson registered for the free river trip but took away so much more.

Cinque Terre » Three paddlers hop a train to Genova hoping to sea kayak 100km of coastline and explore the five fishing villages that comprise Cinque Terre.

Therapy for Restless Souls » From the rails to the rivers, David Jackson and his wife embark on a sub-arctic canoe expedition in search of healing and adventure.

Bad Lines on the Buller River » When whitewater rookie Mia Clyatt moved to New Zealand’s Buller River to train as a raft guide, the rapids were the least of her problems.

Life Downstream » Life Downstream offers a powerful look at the intersection of recreation and livelihood and the reminder that to truly know a rive r requires questions most paddlers never think to ask.

A Grand Canyon Date Night » A last-minute Grand Canyon permit provided a much-needed opportunity for Nick Troutman and Emily Jackson to prioritize time together.

Iceland: The Land of Freefall » The waterfalls of Iceland were the perfect setting for Pretam Gurung to dial in his freefall skills and taste whitewater history for himself.

Ian Smith & the Watersmith Guild » Through programs like First Waves, Ian Smith and the Watersmith Guild empower conservation by reintroducing Pennsylvania youth to the beauty and potential of their home rivers.
About NRS: Northwest River Supplies
In 1972, with only $2,000 in his personal savings, Bill Parks started Northwest River Supplies with one mission: to help others raft. 42 years later, Bill sold NRS to its employees. Today, the 100% employee-owned business strives to continue Bill’s legacy helping people pursue passions on the water.
At our Moscow, Idaho headquarters you’ll find passionate water-lovers just like you, from rafters to whitewater kayakers, sea kayakers to stand up paddlers, kayak anglers to fly fishermen. Our lives, and livelihoods, are drawn to water.
'%3e%3cg id='Final-Copy-2_2_' transform='translate(1275.000000, 200.000000)'%3e%3cpath class='st0' d='M7.4,12.8h6.8l3.1-11.6H7.4C4.2,1.2,1.6,3.8,1.6,7S4.2,12.8,7.4,12.8z'/%3e%3c/g%3e%3c/g%3e%3c/g%3e%3cg id='final---dec.11-2020'%3e%3cg id='_x30_208-our-toggle' transform='translate(-1275.000000, -200.000000)'%3e%3cg id='Final-Copy-2' transform='translate(1275.000000, 200.000000)'%3e%3cpath class='st1' d='M22.6,0H7.4c-3.9,0-7,3.1-7,7s3.1,7,7,7h15.2c3.9,0,7-3.1,7-7S26.4,0,22.6,0z M1.6,7c0-3.2,2.6-5.8,5.8-5.8 h9.9l-3.1,11.6H7.4C4.2,12.8,1.6,10.2,1.6,7z'/%3e%3cpath id='x' class='st2' d='M24.6,4c0.2,0.2,0.2,0.6,0,0.8l0,0L22.5,7l2.2,2.2c0.2,0.2,0.2,0.6,0,0.8c-0.2,0.2-0.6,0.2-0.8,0 l0,0l-2.2-2.2L19.5,10c-0.2,0.2-0.6,0.2-0.8,0c-0.2-0.2-0.2-0.6,0-0.8l0,0L20.8,7l-2.2-2.2c-0.2-0.2-0.2-0.6,0-0.8 c0.2-0.2,0.6-0.2,0.8,0l0,0l2.2,2.2L23.8,4C24,3.8,24.4,3.8,24.6,4z'/%3e%3cpath id='y' class='st3' d='M12.7,4.1c0.2,0.2,0.3,0.6,0.1,0.8l0,0L8.6,9.8C8.5,9.9,8.4,10,8.3,10c-0.2,0.1-0.5,0.1-0.7-0.1l0,0 L5.4,7.7c-0.2-0.2-0.2-0.6,0-0.8c0.2-0.2,0.6-0.2,0.8,0l0,0L8,8.6l3.8-4.5C12,3.9,12.4,3.9,12.7,4.1z'/%3e%3c/g%3e%3c/g%3e%3c/g%3e%3c/g%3e%3c/svg%3e) Your Privacy Choices
Your Privacy Choices NRS Gift Card: Always Fits, Always Wanted


